The Organization Settings in SealPoint allow administrators to configure key details of their business, manage users, and set up payment processing. From this section, you can update company information that appears on customer-facing documents, add or edit service items, invite and manage team members, and connect your bank account to start receiving payments through Stripe. This guide walks you through each area of the Organization Settings so your account is fully set up and ready to use.
Setting Up Bank Account Payouts
To start receiving payments through SealPoint, you’ll need to connect your bank account using our integration with Stripe. Click the Setup Bank Account Payouts button in Organization Settings to begin the secure onboarding process.
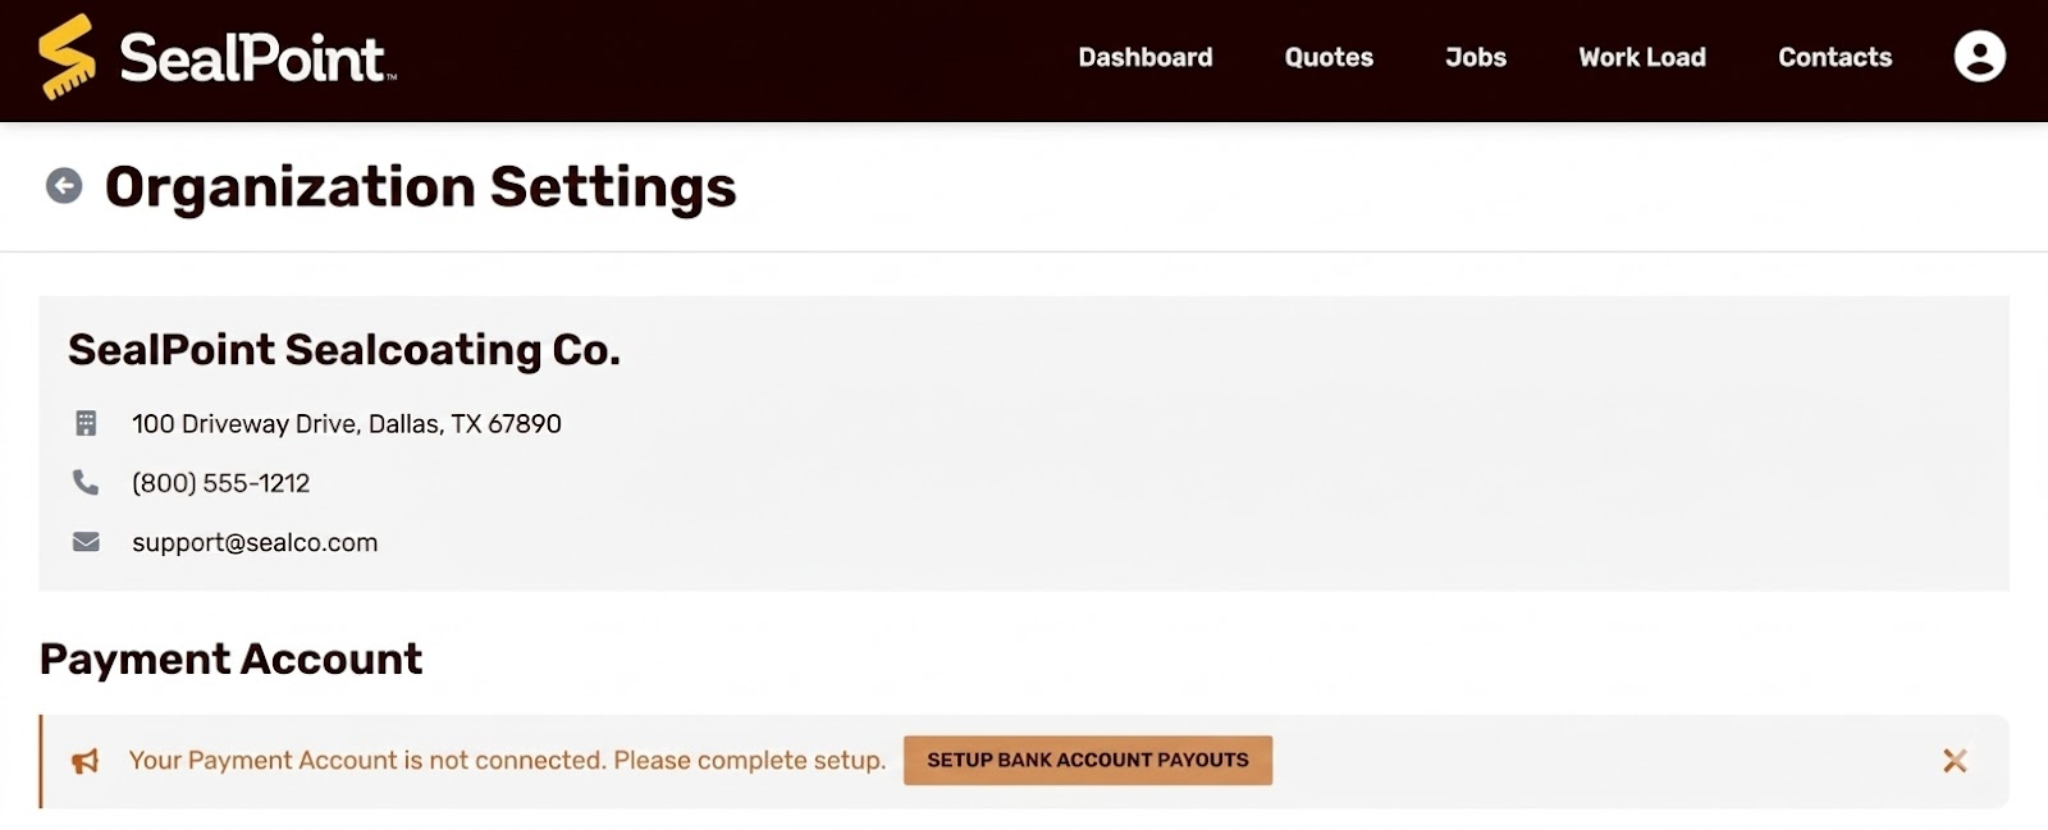
You’ll be automatically taken to Stripe’s onboarding process. First, you must choose your business type; Individual, Company, or Nonprofit Organization.
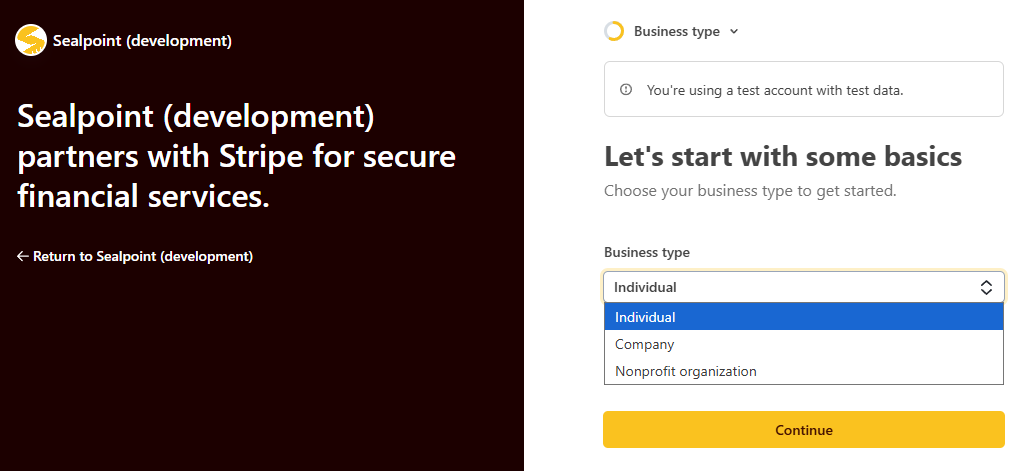
If registering as an Individual you'll need:
- Full legal name
- Date of Birth
- Address (residential)
- Phone number and email
- Government Issued ID (SSN in US, or passport/ID number elsewhere)
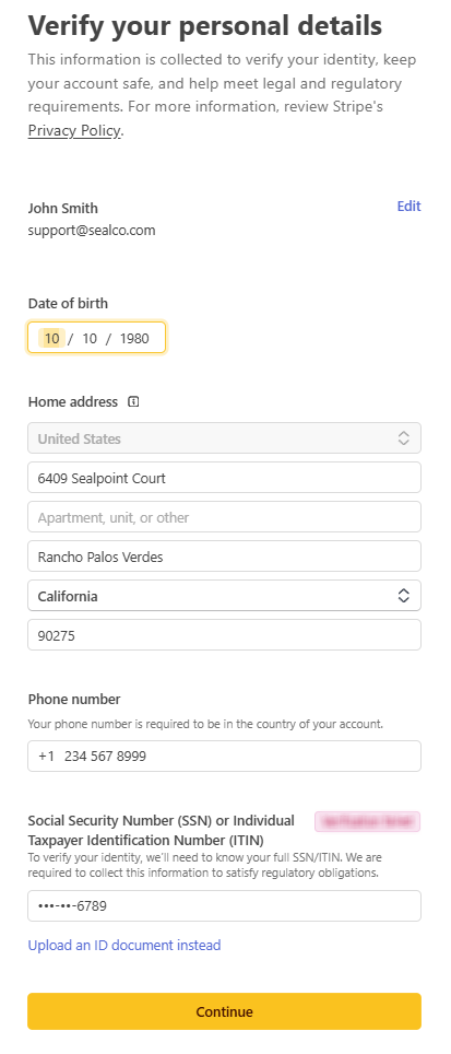
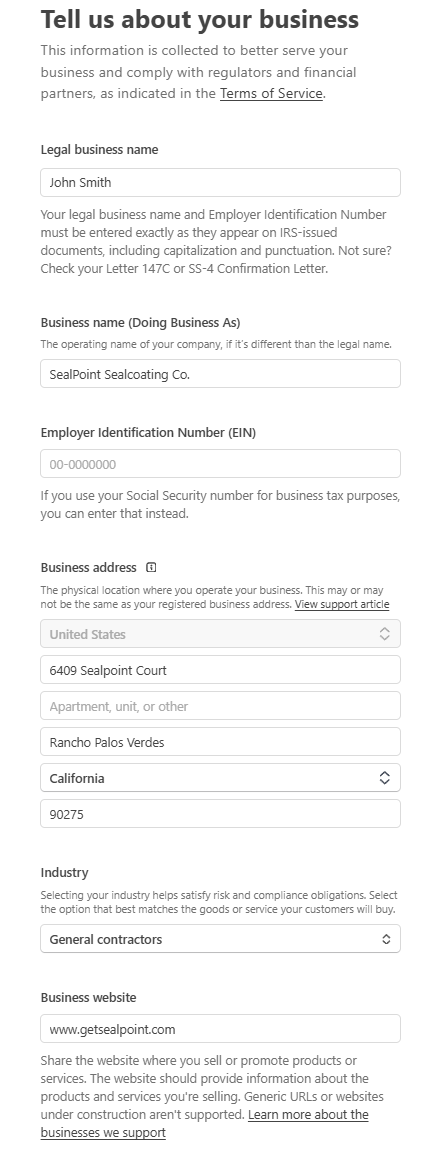
If registering as a Business you'll need:
- Business legal name and tax ID (EIN in US)
- Business address and phone number
- Type of business / industry (MCC code)
- Website or product description
- Representative information:
- Full legal name
- Date of Birth
- Address
- Email and phone
- Government ID (SSN in US or equivalent)
- Owners with ≥25% ownership: same personal details as above
- Bank account details for payouts
- (Sometimes) proof of incorporation or business license
After entering your individual or business information, you’ll be prompted to connect your bank account. You can do this by securely logging in through your banking institution or by manually entering your routing and account numbers.
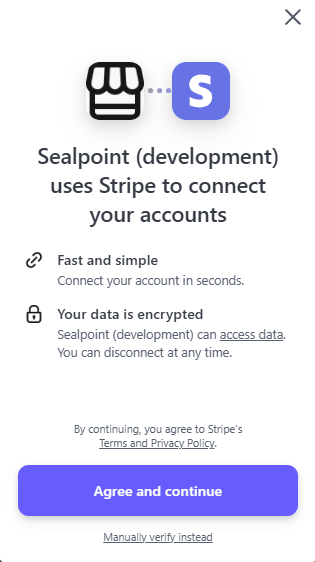
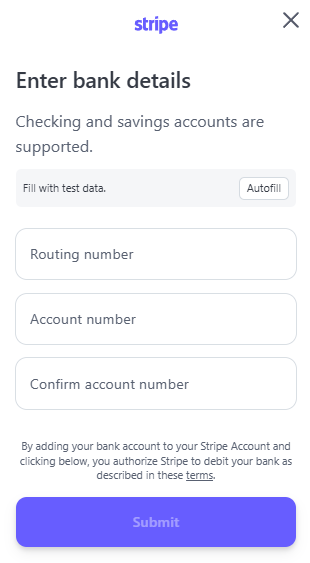
After linking the bank account where you want your SealPoint earnings deposited, Stripe will confirm the connection and finalize the link to your bank.
The last step to complete the setup is adding the public details for your customers. This is the information that will be visible to the public on payment, credit card statements, and receipts.
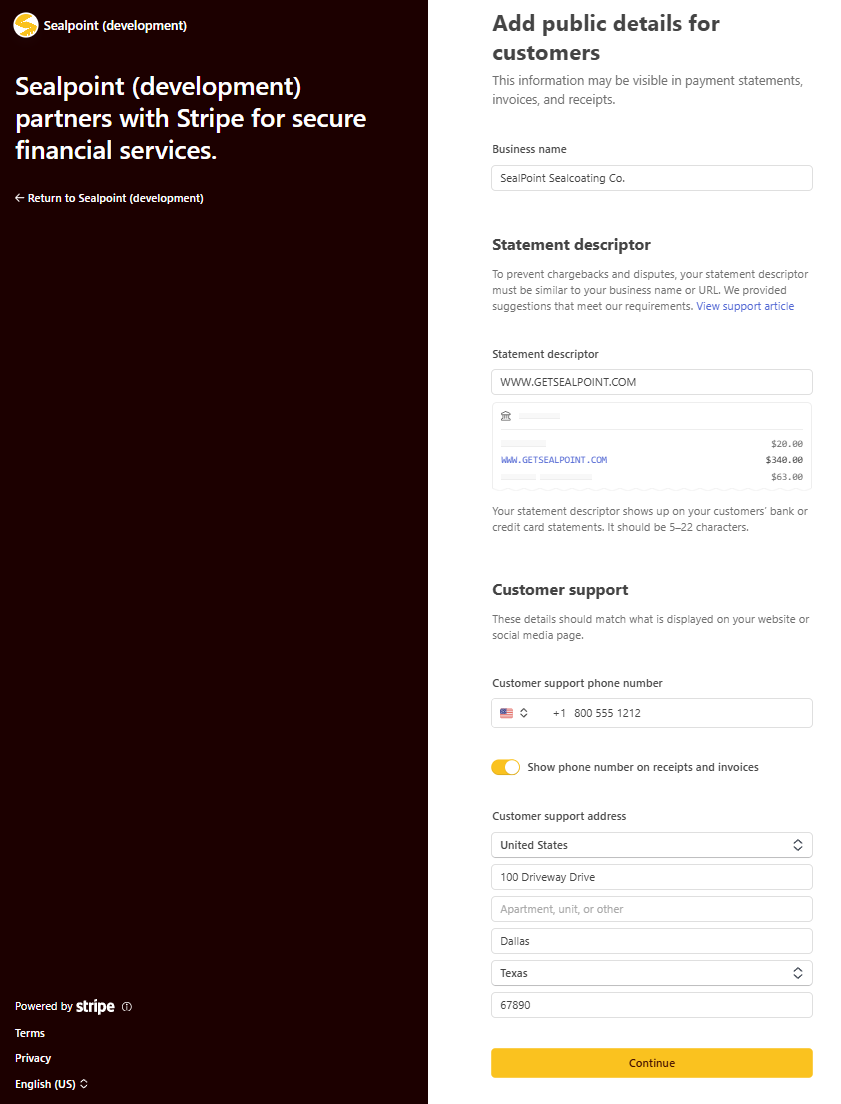
To prevent chargebacks and disputes, you can follow these best practices:
For business registrants:
- Business name should be your legal or DBA
- Statement descriptor should be a short version of your business name/service
- Customer support details should be your company phone, email, or website
For individual registrants:
- Business name can be your personal name, or if you operate under a trade name (like “John’s Driveway Sealing”).
- Statement descriptor can be a short, recognizable description (e.g., “Driveway Sealing” or “Sealcoating by John”)
- Customer support details can be your phone number, email address, or website/social profile where customers can reach you
After entering your customer-facing information, the final step is to review all the details you’ve provided and confirm them. Once confirmed, your Stripe account setup is complete and you’ll be ready to receive payments in SealPoint.
Once setup is complete, only Administrators in your organization can access the Stripe payment dashboard on the SealPoint Organization Settings page.
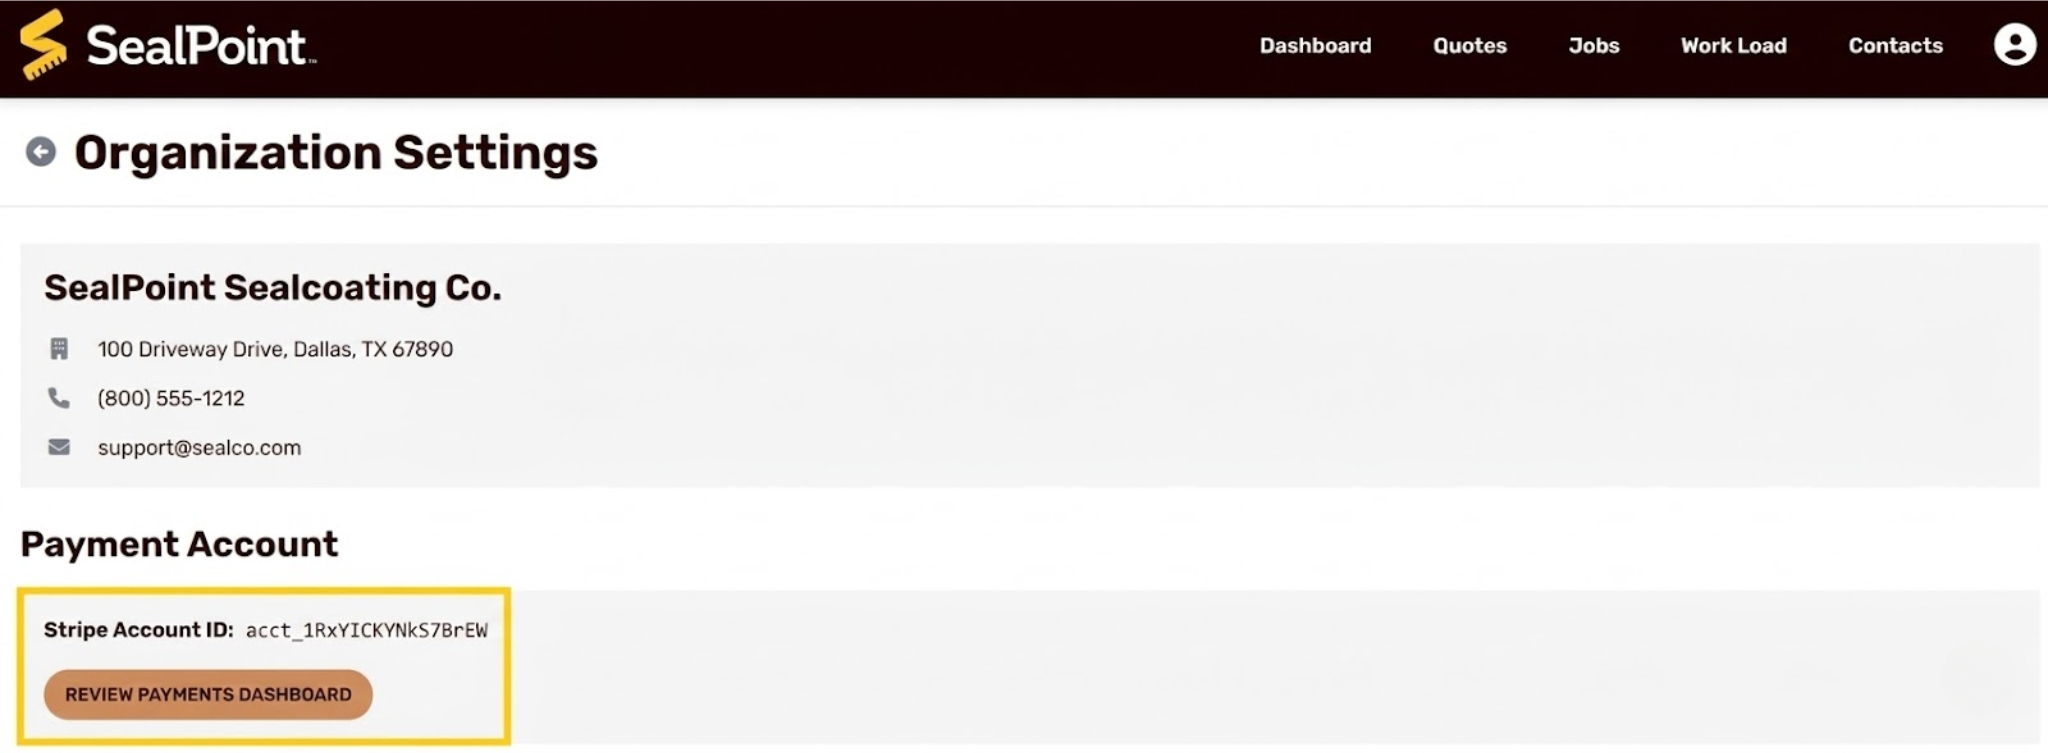
From your Payments Dashboard, you can view payouts, review payment history, update your bank account details, manage personal or business information, update tax details, access tax forms, and manage notifications.
That’s it! Once your bank account is connected and verified through Stripe, you’re ready to start receiving payments in SealPoint. If you have any questions, please reach out to us at support@getsealpoint.com and our team will be happy to help.
Was this article helpful?
That’s Great!
Thank you for your feedback
Sorry! We couldn't be helpful
Thank you for your feedback
Feedback sent
We appreciate your effort and will try to fix the article